
1 / 3 · Click to enlarge
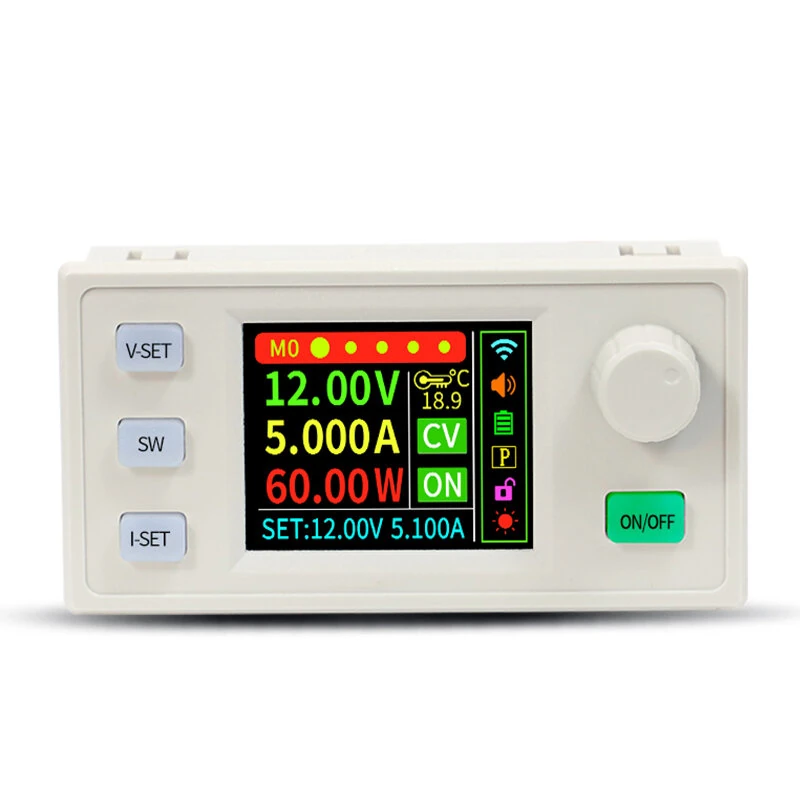
Sinilink XY-SK150S DC Buck-Boost Power Supply Module 40V 8A 150W MPPT Solar Charger Constant Voltage Current 1.8-inch LCD Display Smart Charging Digital Power Module
5.03 ratingsThe Sinilink XY-SK150S DC Buck-Boost Power Supply Module 40V 8A 150W MPPT Solar Charger Constant Voltage Current 1.8-inch LCD Display Smart Charging Digital Power Module is a mid-range power supply module designed for everyday users.
Available Offers
Free Delivery on this order. No minimum order value.
15-Day Easy Returns — hassle-free return & full refund.
Secure Payment — 100% safe checkout with UPI, Cards & Net Banking.
Type: No Shell
Available Offers
5% Cashback
Pay with UPI & get 5% cashback (up to ₹50) via Razorpay
No-Cost EMI
Available on select bank cards at checkout. 0% interest for 3 months.
Free Shipping
Free delivery on all orders. No minimum order value.
Cash on Delivery
COD available on orders up to ₹5,000 across India.
Ideal For
About This Product
The Sinilink XY-SK150S DC Buck-Boost Power Supply Module 40V 8A 150W MPPT Solar Charger Constant Voltage Current 1.8-inch LCD Display Smart Charging Digital Power Module is a mid-range power supply module designed for everyday users. It delivers reliable performance at an accessible price.
Why Buy from Pricio?
Pricio sources this product directly, cutting out multiple middlemen. Every order includes free shipping, a 15-day return policy, and secure payment via Razorpay.
Specification:
Brand: Sinilink
Product Name: DC Buck-Boost Power Supply
Model: XY-SK150S
Input Voltage: 6.00~36.00V
Output Voltage: 0~40.00V
Output Current: 0~8.000A
Power Output: 150W
Efficiency of Conversion: About 88%
Resolution of Voltage: 0.01V
Resolution of Current: 0.001A
Accuracy: Voltage ±0.5%+1 word, Current ±0.5%+3 word
Output Ripple Typical Value: vpp-150mv
Storage Data Group: 10 groups
MPPT Function: Supports MPPT Solar Charging
Screen Size: 1.8-Inch Full-View High-Brightness True Color LCD
Product Size: 86*50*45mm
Package Size: 104*70*52mm
Product Weight: 108g
Product Weight with Packaging: 128g
Features:
1. Advanced Display: 1.8-Inch Full-View High-Brightness True Color LCD for clear and vivid readings.
2. Multi-Protection Mechanism: Includes anti-reverse, under-voltage, over-voltage, over-current, over-power, over-temperature, over-time out, over-capacity, and over-energy protections.
3. Customizable Interface: Supports 8 color options and four-way rotation for personalized usage.
4. Remote Control Compatibility: Works with infrared and 433M wireless remote control modules for convenient adjustments.
5. Smart Charging Management: Features MPPT solar charging with automatic charging and stopping functions to manage battery health.
6. High Precision Controls: Equipped with rotary encoder for precise voltage/current adjustments and status monitoring.
Package Includes:
1 x Sinilink XY-SK150S DC Buck-Boost Power Supply Unit


