
1 / 6 · Click to enlarge
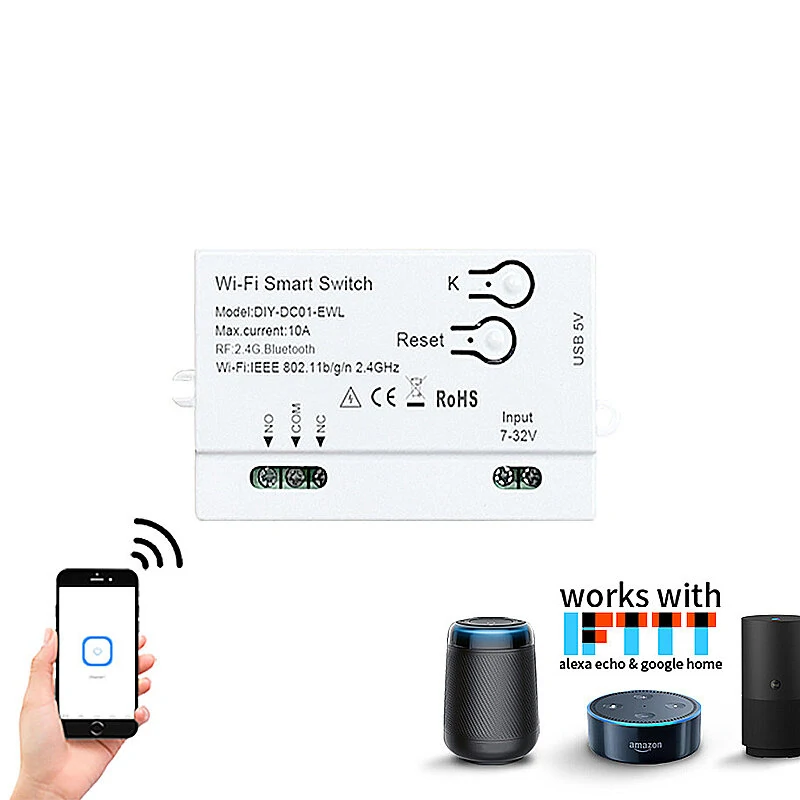
EWelink Smart WiFi Switch DIY Timer 1/2/4CH DC5V2V Intelligent Switch Braker Module APP Control Work with Alexa Google Assistant
5.01 ratingThe EWelink Smart WiFi Switch DIY Timer 1/2/4CH DC5V2V Intelligent Switch Braker Module APP Control Work with Alexa Google Assistant is a value-for-money product designed for DIY enthusiasts and makers. Customers praise its accurate and reliable.
Available Offers
Free Delivery on this order. No minimum order value.
15-Day Easy Returns — hassle-free return & full refund.
Secure Payment — 100% safe checkout with UPI, Cards & Net Banking.
Price: ₹1,381
Available Offers
5% Cashback
Pay with UPI & get 5% cashback (up to ₹50) via Razorpay
No-Cost EMI
Available on select bank cards at checkout. 0% interest for 3 months.
Free Shipping
Free delivery on all orders. No minimum order value.
Cash on Delivery
COD available on orders up to ₹5,000 across India.
Ideal For
About This Product
The EWelink Smart WiFi Switch DIY Timer 1/2/4CH DC5V2V Intelligent Switch Braker Module APP Control Work with Alexa Google Assistant is a value-for-money designed for DIY enthusiasts and makers. Customers highlight its accurate and reliable.
Why Buy from Pricio?
Pricio sources this product directly, cutting out multiple middlemen. Every order includes free shipping, a 15-day return policy, and secure payment via Razorpay.
Specifications:
Product Name: eWeLink Smart WiFi Switch DIY Timer
Voltage: DC 5V-2V
Number of Channels: 1/2/4CH (1/2/4 Channels)
Control Method: WiFi and Mobile App
Voice Control Compatibility: Works with Alexa and Google Assistant
Features:
Remote Control: Control your lights or appliances from anywhere using the eWeLink mobile app on your smartphone. Whether you're at home or away, you can easily manage your devices with the touch of a button.
DIY Timer: Set up customized timers and schedules for your connected devices. Automate your home by scheduling lights, fans, and other appliances to turn on or off at specific times, making your life more convenient and energy-efficient.
Voice Control: Seamlessly integrate with popular voice assistants like Alexa and Google Assistant. Use voice commands to control your devices, providing a hands-free and convenient smart home experience.
Multi-Channel Options: Choose from 1, 2, or 4 channels to suit your specific needs. Each channel can control a separate device or group of devices, allowing you to create different automation scenarios.
Easy Installation: The intelligent switch breakker module is designed for easy installation, making it suitable for DIY enthusiasts. Simply follow the instructions provided to connect and configure your devices.
Package Include:
1x Intelligent Switch Breakker Module


