
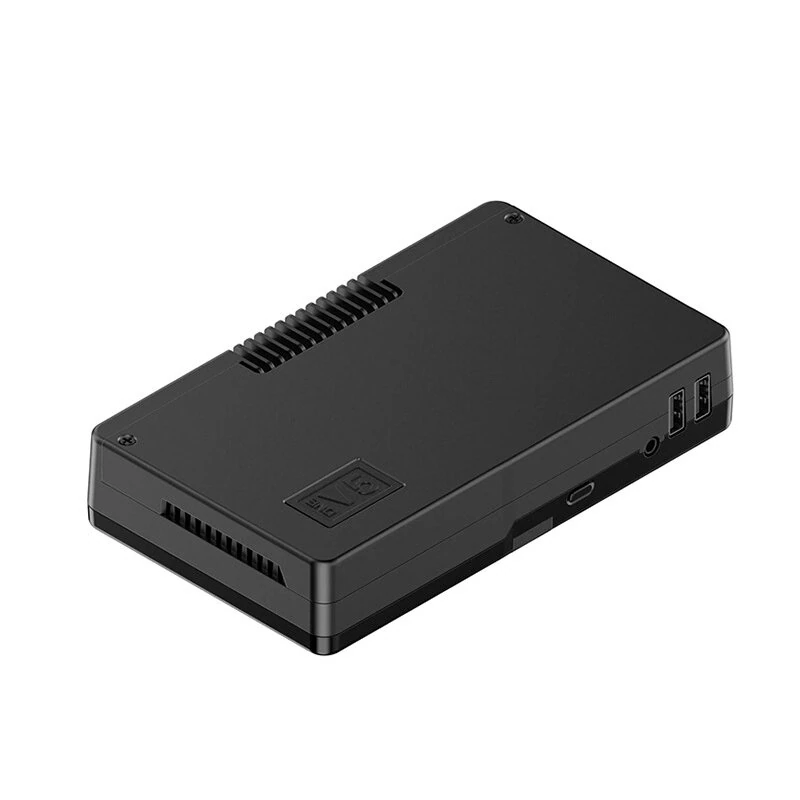
Argon One V5 Aluminum Alloy Case for Raspberry Pi 5 Compatible with PWM Fan USB 2.0 M.2 NVME PCIe Expansion
5.02 ratingsThe Argon One V5 Aluminum Alloy Case for Raspberry Pi 5 Compatible with PWM Fan USB 2.0 M.2 NVME PCIe Expansion is a mid-range product designed for everyday users. Customers praise its fast and responsive.
Available Offers
Free Delivery on this order. No minimum order value.
15-Day Easy Returns — hassle-free return & full refund.
Secure Payment — 100% safe checkout with UPI, Cards & Net Banking.
38% Off — you save ₹1,280 on this product!
Available Offers
5% Cashback
Pay with UPI & get 5% cashback (up to ₹50) via Razorpay
No-Cost EMI
Available on select bank cards at checkout. 0% interest for 3 months.
Free Shipping
Free delivery on all orders. No minimum order value.
Cash on Delivery
COD available on orders up to ₹5,000 across India.
Ideal For
About This Product
The Argon One V5 Aluminum Alloy Case for Raspberry Pi 5 Compatible with PWM Fan USB 2.0 M.2 NVME PCIe Expansion is a mid-range designed for everyday users. Customers highlight its fast and responsive.
Why Buy from Pricio?
Pricio sources this product directly, cutting out multiple middlemen. Every order includes free shipping, a 15-day return policy, and secure payment via Razorpay.
- Material: Aluminum alloy
- Cooling: Integrated 30mm PWM fan
- Ports: 2 x USB 2.0, 2 x 4K High-Definition Multimedia Interface, 1 x USB Type-C Port for power
- Audio Interface: Built-in DAC with 3.5mm audio jack for microphone and headphone
- Expansion Slots: M.2 NVME PCIe support
- Wireless Connectivity: ZigBees module with antenna
- Dimensions: Compatible with Raspberry Pi 5
Features:
1. Efficient Cooling System: The aluminum alloy case with a 30mm PWM fan ensures effective heat dissipation, keeping your Raspberry Pi 5 at optimal operating temperatures during intensive tasks.
2. Dual 4K High-Definition Multimedia Interface Ports: Equipped with two 4K High-Definition Multimedia Interface ports, this case allows you to connect dual monitors, ideal for multitasking and media broadcasting.
3. Enhanced Connectivity: Includes two USB 2.0 ports to increase convenience and flexibility for connecting peripheral devices.
4. High-Quality Audio Output: Features a built-in DAC with a 3.5mm jack that supports both microphone input and headphone output, perfect for seamless video communication and improved audio quality.
5. Advanced Expansion Options: Supports M.2 NVME PCIe expansion, providing faster data access and increased storage capacity for your projects and applications.
Package Included:
1 x V5 Aluminum Alloy Shell
Or
1 x V5 OLED Screen
Or
1 x Single NVME Expansion Board
Or
1 x Dual NVME Expansion Board
Or
1 x ZIGBees Communication Board
1 x Antenna
Or
1 x V5 Aluminum Alloy Shell
1 x Single NVME Expansion Board
Or
1 x V5 Aluminum Alloy Shell
1 x Dual NVME Expansion Board
