
1 / 5 · Click to enlarge
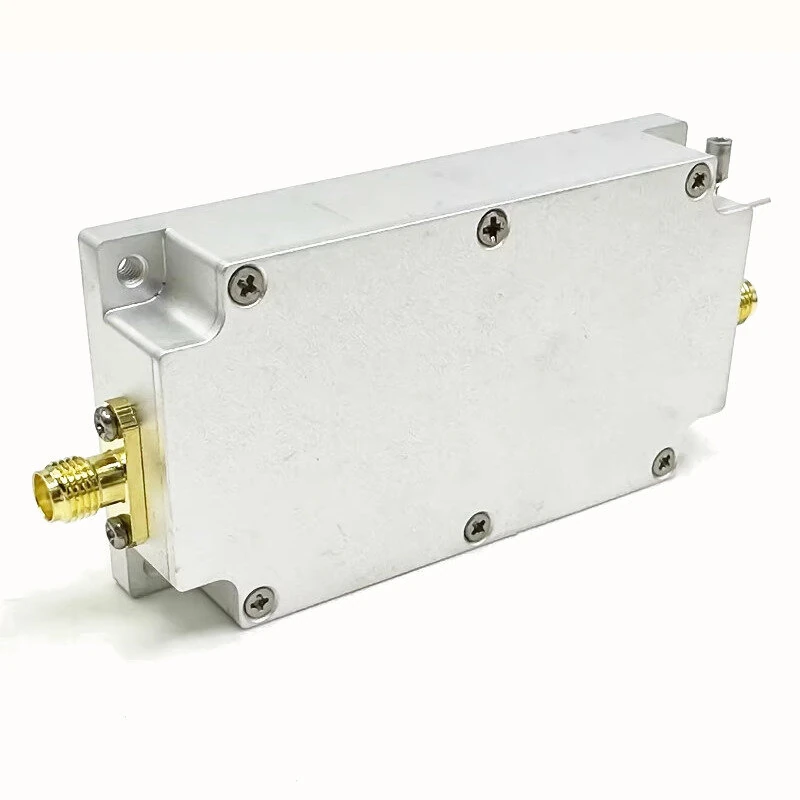
915MHz Microwave RF Power Amplifier Module 820-970MHz Output 15W Gain 40dB High-Performance Signal Booster Board
The 915MHz Microwave RF Power Amplifier Module 820-970MHz Output 15W Gain 40dB High-Performance Signal Booster Board is a mid-range product designed for everyday users.
Available Offers
Free Delivery on this order. No minimum order value.
15-Day Easy Returns — hassle-free return & full refund.
Secure Payment — 100% safe checkout with UPI, Cards & Net Banking.
frequency: 915MHZ
Available Offers
5% Cashback
Pay with UPI & get 5% cashback (up to ₹50) via Razorpay
No-Cost EMI
Available on select bank cards at checkout. 0% interest for 3 months.
Free Shipping
Free delivery on all orders. No minimum order value.
Cash on Delivery
COD available on orders up to ₹5,000 across India.
Ideal For
About This Product
The 915MHz Microwave RF Power Amplifier Module 820-970MHz Output 15W Gain 40dB High-Performance Signal Booster Board is a mid-range designed for everyday users. It delivers reliable performance at an accessible price.
Why Buy from Pricio?
Pricio sources this product directly, cutting out multiple middlemen. Every order includes free shipping, a 15-day return policy, and secure payment via Razorpay.
Model: 915MHz RF Power Amplifier
Working Frequency: 820-970MHz (860MHz, 915MHz)
Output Power:
13W (41dBm@24V, RFin=5dBm (3mW))
15W (42dBm@28V, RFin=5dBm (3mW))
20W (43dBm@28V, RFin=7dBm (5mW))
Working Voltage: 20-28V (24V recommended)
Working Current: 1.7A (depending on the supply voltage)
System Impedance: 50 ohms
Overall Size: 76x40x16.5mm (without joint)
Connector Type: SMA female head (outer screw inner hole)
Note: Additional heat sink required
Features:
1.Wide Working Frequency Range:
The 915MHz RF Power Amplifier operates across a broad frequency range of 820-970MHz, including specific frequencies like 860MHz and 915MHz, making it adaptable to various applications and ensuring wide compatibility.
2.High Output Power:
This module offers significant output power options, ranging from 13W to 20W depending on the operating conditions and input. This flexibility allows users to select the power level that best suits their transmission needs.
3.Versatile Voltage Operation:
With a working voltage range of 20-28V, the amplifier provides versatility in power supply options. The recommended 24V ensures optimal performance, while allowing adjustments based on specific requirements.
4.Standard System Impedance:
Featuring a 50-ohm system impedance, the amplifier ensures compatibility with standard RF systems. This impedance match is important for maintaining signal integrity and maximizing efficiency.
5.Compact and Connector-Ready:
The module's compact size makes it easy to integrate into various setups. With SMA female connectors, it offers a reliable connection interface that's easy to implement in different configurations.
Package Included:
1 x 915MHz RF Power Amplifier Module


