
Free Delivery  ·  COD Available  ·  15-Day Returns
Pricio
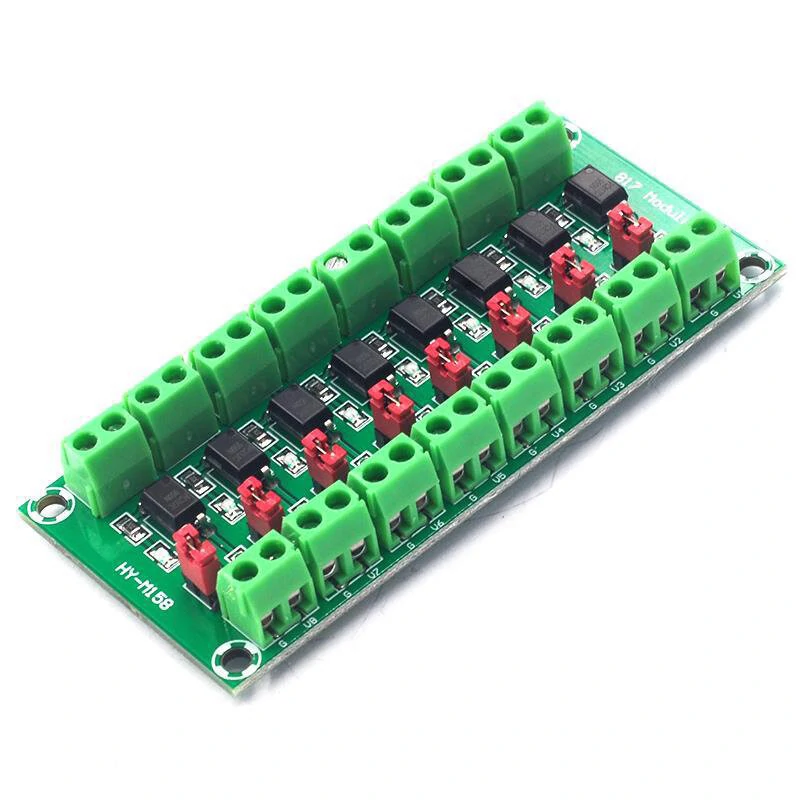
8-way Photoelectric Isolation Module Voltage Isolation Board Control Transfer Drive Board 817 Optocoupler Module — image 1
Hover to zoom

1 / 6 · Click to enlarge

8-way Photoelectric Isolation Module Voltage Isolation Board Control Transfer Drive Board 817 Optocoupler Module

5.06 ratings
521+ bought in last month
AI Summary
product for everyday users

The 8-way Photoelectric Isolation Module Voltage Isolation Board Control Transfer Drive Board 817 Optocoupler Module is a value-for-money product designed for everyday users. 100% of buyers rate it 4★ or above.

₹775
Free Shipping💵 COD Available

Available Offers

Free Delivery on this order. No minimum order value.

15-Day Easy Returns — hassle-free return & full refund.

Secure Payment — 100% safe checkout with UPI, Cards & Net Banking.

Total: ₹775
Buying tip: A smart budget buy — solid performance without breaking the bank.
Estimated delivery: 26 Aug9 Sept
Free Shipping
Pan India delivery
15-Day Returns
Hassle-free policy
Secure Payment
Razorpay protected
Quality Assured
Vetted products only

Available Offers

💳

5% Cashback

Pay with UPI & get 5% cashback (up to ₹50) via Razorpay

🏦

No-Cost EMI

Available on select bank cards at checkout. 0% interest for 3 months.

📦

Free Shipping

Free delivery on all orders. No minimum order value.

💵

Cash on Delivery

COD available on orders up to ₹5,000 across India.

Ideal For

Everyday convenience
Share:
SKU: bg-1981104

About This Product

The 8-way Photoelectric Isolation Module Voltage Isolation Board Control Transfer Drive Board 817 Optocoupler Module is a value-for-money designed for everyday users. It delivers reliable performance at an accessible price.

Customer Verdict

100% of buyers rated this product 4 stars or above.

Why Buy from Pricio?

Pricio sources this product directly, cutting out multiple middlemen. Every order includes free shipping, a 15-day return policy, and secure payment via Razorpay.

Description:

In actual work, this module will be used when isolation control and voltage conversion are required. It can realize 3.3V or 5V to control the interface of 3.6---24V voltage level, and after the control terminal is turned on, the controlled terminal will also be turned on.
Photoelectric isolation has strong anti-interference ability. Later, it can drive high-power triodes, MOS tubes and other occasions that require high-voltage drive, and can also directly drive low-power 24V relays to work. If it is a pulse signal, please note that the limit of 817 is below 4KHZ, please do not use this module for control signals greater than 4KHZ, it will not work properly.


Specifications:

1. Driver signal voltage: 3.6-24V
2. Output voltage range: 3.6-30V (the output current depends on the specific situation, but the maximum is not 10MA, the total power is constant, and the voltage and current are inversely proportional)
3. The jumper cap can be used to realize whether the output terminal is a high potential output or a low output.
4. The 4 channels of 817 on the board are all independent, which can realize simultaneous control of different voltages, etc.
5: Board size: Length: 48mm; Width: 38mm; Long side hole distance: 42mm; Wide side hole distance: 32mm


Package Include:

1× Voltage Isolation Board


Product Safety Information

Setup Guide

1
Identify the pins
Locate VCC (power), GND (ground), and data pins (SDA/SCL for I2C, MOSI/MISO for SPI, or TX/RX for UART). Refer to the pinout diagram on the product page.
2
Wire to your microcontroller
Connect VCC to 3.3V or 5V (check the module spec), GND to GND, and data pins to the appropriate GPIO pins on your Arduino or Raspberry Pi.
3
Install libraries
In Arduino IDE, go to Sketch → Include Library → Manage Libraries and search for the sensor library. Install the recommended version.
4
Upload example sketch
Open File → Examples → [library name] → Basic Example. Upload to your board and open Serial Monitor to view output.
5
Calibrate if needed
Some sensors (temperature, humidity, distance) may need a short warm-up period or calibration. Run the calibration sketch if provided.