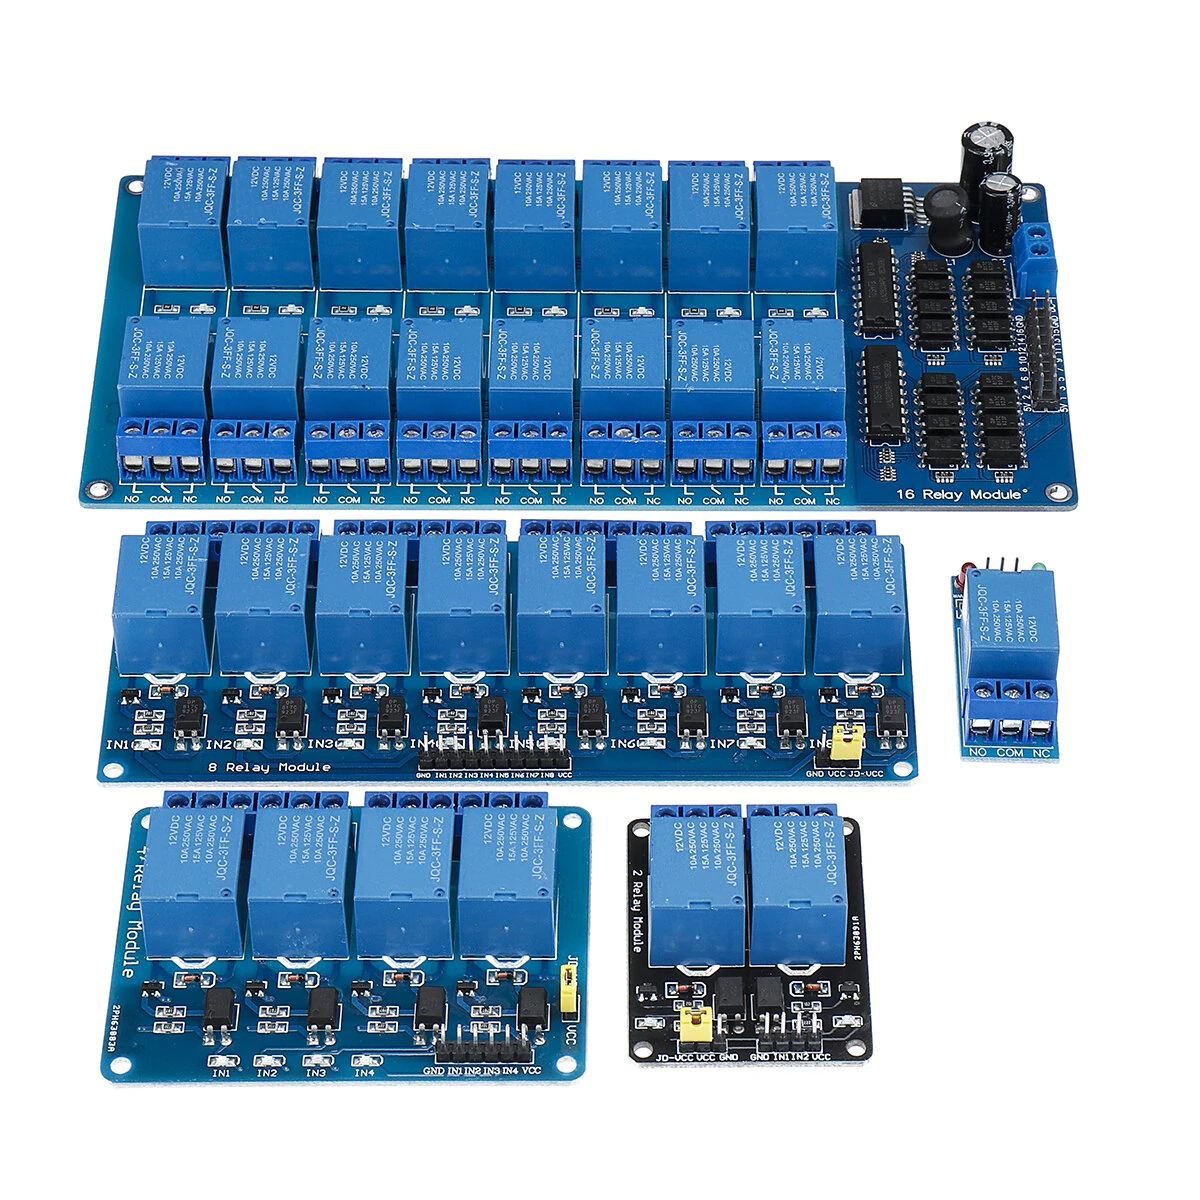
Product Name: 12V Relay Module
Material: Copper + Plastic
1 Channel Size: 4.2cm x 1.5cm
2 Channel Size: 5cm x 3.5cm
4 Channel Size: 7.5cm x 5.5cm
8 Channel Size: 13.7cm x 5.5cm
16 Channel Size: 17.8cm x 9cm
Channel Type: 1 / 2 / 4 / 8 / 16
Working Voltage: 12V
Use:
1. Support all microcontroller control.
2. Industrial field.
3. PLC control.
4. Home intelligent control.
1 Channel:
1. Onboard EL817 optocoupler , strong anti-jamming capability with optical isolation.
2. Onboard 12V, 10A/250VAC, 10A/30VDC relay , relay life long continuous pull 100,000 times.
3. The module can be directly and microcontroller I / O link , with an output signal indicating.
4. The module has a freewheeling diode protection , short response time.
2 Channel:
This is a 2 Channel 12V Relay interface board, Be able to control various appliances, and other equipments with large current.
It can be controlled directly by Microcontroller( , 8051, AVR, PIC, DSP, ARM, ARM, MSP430, TTLlogic) .
1. 12V 2-Channel Relay interface board, and each one needs 15-20mA Driver Current
2. Equiped with high-current relay, AC250V 10A ; DC30V 10A
3. Standard interface that can be controlled directly by microcontroller ( , 8051, AVR, PIC, DSP, ARM, ARM, MSP430, TTLlogic)
4 Channel:
1. This is a 12V 4-Channel Relay interface board.
2. Be able to control various appliances, and other equipments with large current.
3. It can be controlled directly by Micro-controller ( , 8051, AVR, PIC, DSP, ARM, ARM, MSP430, TTLlogic).
4. 12V 4-Channel Relay interface board, and each one needs 50-60mA Driver Current.
5. Equiped with high-current relay, AC250V 10A ; DC30V 10A.
6. Indication LED's for Relay output status.
7. Input IN1, IN2, IN3, IN4 signal low level effectively.
8. VCC, GND power input end, can supply power alone
9. Support all single-chip control, industrial area, PLC control, household intelligent control.
10. Application:
-Supports all MCU control
-The industrial field
-PLC control
-Smart home control
8 Channel:
1. This is a 12V 8-Channel Relay interface board, Be able to control various appliances, and other equipments with large current. It can be controlled directly by Micro-controller ( , 8051, AVR, PIC, DSP, ARM, ARM, MSP430, TTLlogic) .
2. Features:
-12V 8-Channel Relay interface board, and each one needs 50-60mA Driver Current.
-Equiped with high-current relay, AC250V 10A; DC30V 10A.
-Indication LED for Relay output status.
16 Channel:
1. This relay module is 12V active low, and each one needs 15-20mA driver current.
2. Uses two 8-channel ULN2803APG darlington arrays chip to control relay module.
3. It is a 16-channel relay interface board, which can be controlled directly by a wide range of microcontrollers such as , AVR, PIC, ARM, PLC, etc.
4. It is also able to control various appliances and other equipments with large current.
5. Relay output maximum contact is AC250V 10A and DC30V 10A.
6. Standard interface can be directly connected with microcontrollers.
7. The working status indicator lights are conducive to the safe use.
8. Widely used for all MCU control, industrial sector, PLC control, smart home control.
Note:
1. We provide clear pictures, measurements where possible. Please check as much as possible to make sure the item is the one that you need.
2. Please allow 0.5-1 inch difference due to manual measurement.(1inch=2.54cm)
3.There are no instructions included in this kit.If you want to know how to use or install it, please contact us by Email.We will provide help as much as possible.
Package Included:
1 x Relay Module