
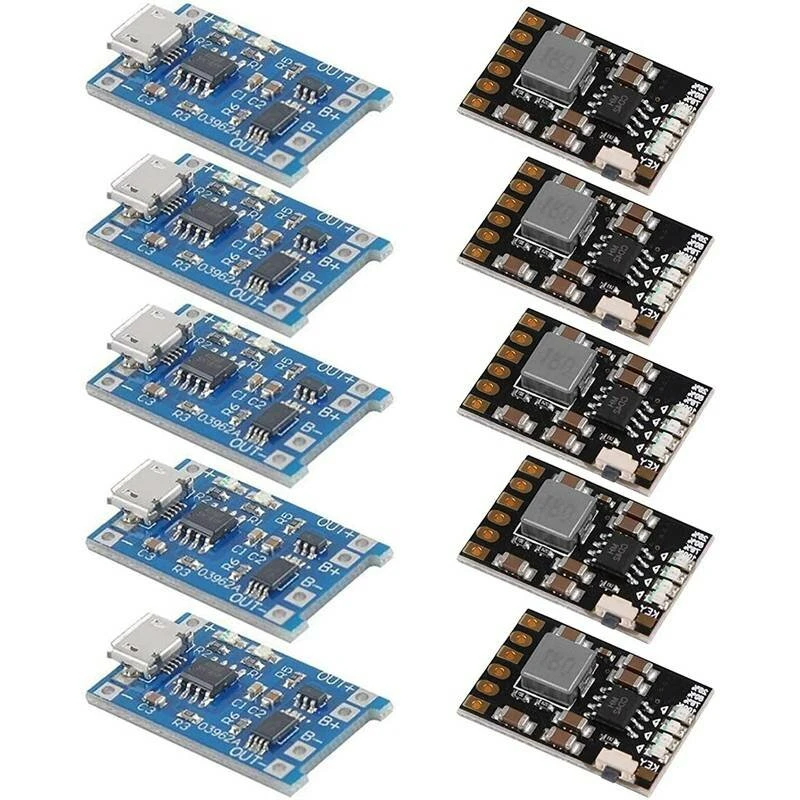
10PCS Lithium Battery Charging Module Set 5V 1A TP4056 Charging Modules + 5V 2A
5.031 ratingsThe 10PCS Lithium Battery Charging Module Set 5V 1A TP4056 Charging Modules + 5V 2A is a value-for-money product designed for everyday users. Customers praise its excellent build quality and fast and responsive. 100% of buyers rate it 4★ or above.
Available Offers
Free Delivery on this order. No minimum order value.
15-Day Easy Returns — hassle-free return & full refund.
Secure Payment — 100% safe checkout with UPI, Cards & Net Banking.
Available Offers
5% Cashback
Pay with UPI & get 5% cashback (up to ₹50) via Razorpay
No-Cost EMI
Available on select bank cards at checkout. 0% interest for 3 months.
Free Shipping
Free delivery on all orders. No minimum order value.
Cash on Delivery
COD available on orders up to ₹5,000 across India.
Ideal For
About This Product
The 10PCS Lithium Battery Charging Module Set 5V 1A TP4056 Charging Modules + 5V 2A is a value-for-money designed for everyday users. Customers highlight its excellent build quality and fast and responsive.
Customer Verdict
100% of buyers rated this product 4 stars or above. The most appreciated qualities are: excellent build quality, fast and responsive.
Why Buy from Pricio?
Pricio sources this product directly, cutting out multiple middlemen. Every order includes free shipping, a 15-day return policy, and secure payment via Razorpay.
Product description:
- Inputs with MICRO USB female, can be directly input to do with the phone charger rechargeable lithium battery.And still retains the input voltage wiring pads, can be very convenient DIY.
- Note: The charge should disconnect the load OUT terminal on the positive and negative can not be wrong, please according to specifications, otherwise it will damage directly.
- Note: The first time you access the battery, it may no voltage between the output OUT + and OUT -, then access 5V voltage charge your energy can activate the protection circuit, and the battery from the B+ B-, then draw a line on the short open also need recharged to activate the protection circuit. Note that the charger must be able to output 1A or more to do when using a mobile phone charger input, or may not charge.
- + MICRO USB female and next - pads for the power input, access 5V. B + positive then the lithium battery, B- then negative lithium batteries. OUT + and OUT- connected to the load, such as positive and negative electrodes connected mobile booster plate or other load.Connect the battery to the B + B-, inserted into the USB female mobile phone charger, the red light is being charged, the green light to full.
Features:
Input voltage: 5V Charging cut-off voltage: 4.2V ± 1%
Maximum charge current: 1000mA
Battery over - discharge protection voltage: 2.5V
Battery overcurrent protection current: 3A
2A 5V Lithium battery charging protection module
Parameter:
Note: Charging voltage: DC 4.5V-5.5V (DC 5V recommended)
Applications:
Car charging retrofit
Driving recorder power supply
Mobile power
Portable devices such as mobile phones and tablets
Package Included:
5 x TP4056 Charging Module
5 x 2A 5V Lithium Battery Charging Protection Module


