
1 / 7 · Click to enlarge
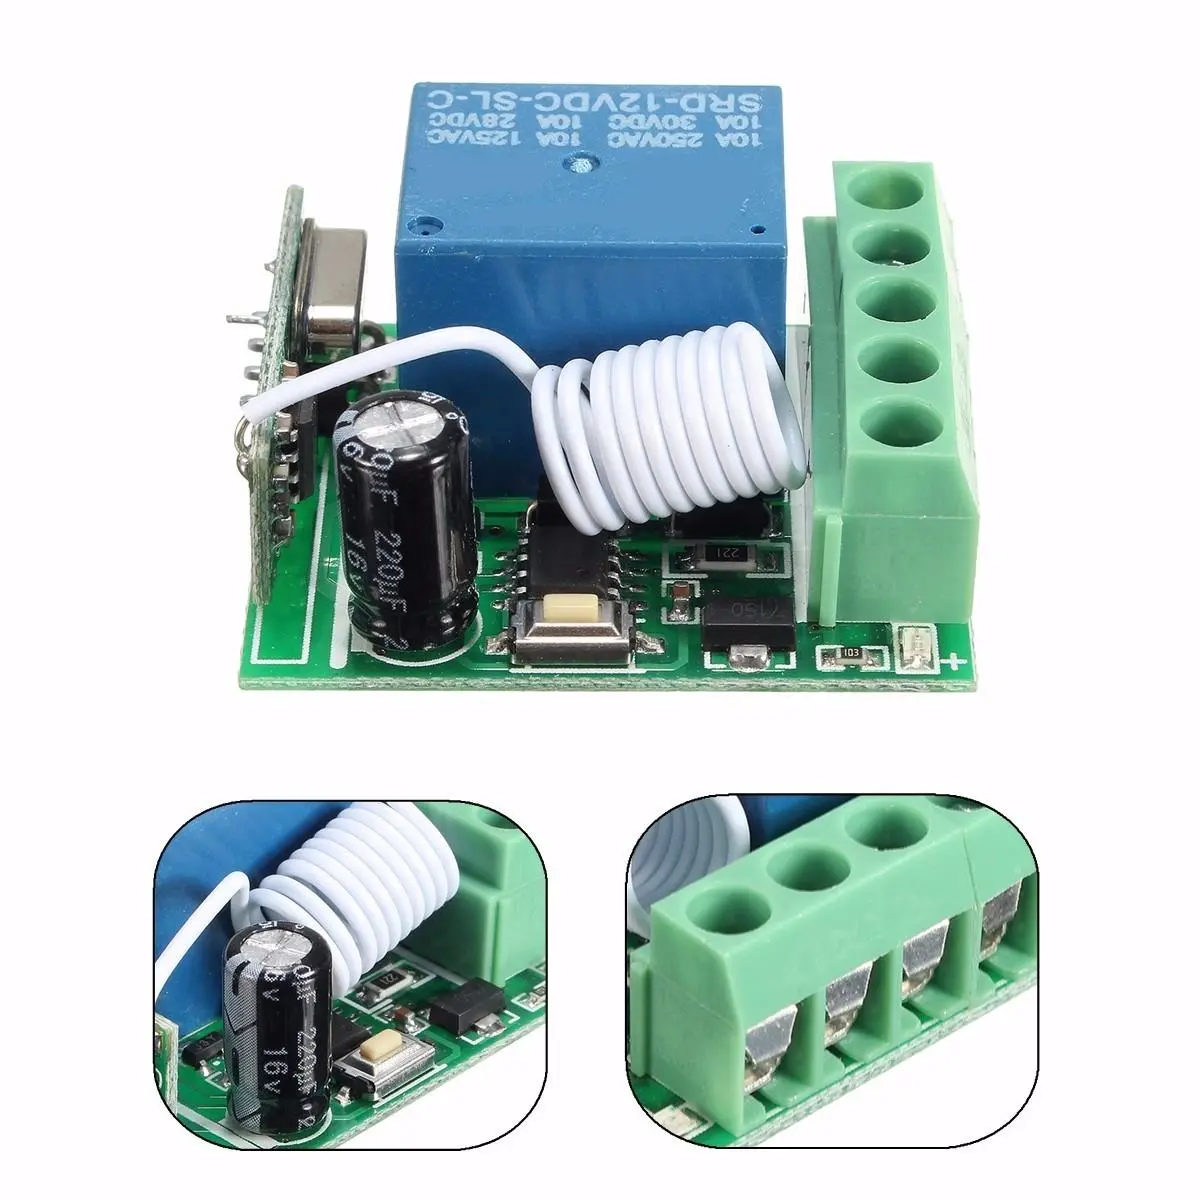
10pcs DC12V 10A 1CH 433MHz Wireless Relay RF Remote Control Switch Receiver Boar
5.032 ratingsThe 10pcs DC12V 10A 1CH 433MHz Wireless Relay RF Remote Control Switch Receiver Boar is a mid-range product designed for everyday users. Customers praise its great value for money. 100% of buyers rate it 4★ or above.
Available Offers
Free Delivery on this order. No minimum order value.
15-Day Easy Returns — hassle-free return & full refund.
Secure Payment — 100% safe checkout with UPI, Cards & Net Banking.
Available Offers
5% Cashback
Pay with UPI & get 5% cashback (up to ₹50) via Razorpay
No-Cost EMI
Available on select bank cards at checkout. 0% interest for 3 months.
Free Shipping
Free delivery on all orders. No minimum order value.
Cash on Delivery
COD available on orders up to ₹5,000 across India.
Ideal For
About This Product
The 10pcs DC12V 10A 1CH 433MHz Wireless Relay RF Remote Control Switch Receiver Boar is a mid-range designed for everyday users. Customers highlight its great value for money.
Customer Verdict
100% of buyers rated this product 4 stars or above. The most appreciated qualities are: great value for money.
Why Buy from Pricio?
Pricio sources this product directly, cutting out multiple middlemen. Every order includes free shipping, a 15-day return policy, and secure payment via Razorpay.
1.Input Voltage: DC10-14V
2.Standby Current: <5MA
3.RF Frequency: 433MHZ
4.RF Working mode:Super heterodyne receiver
5.Receiver Sensitivity: >90dBm
6.Remote Control Distance: >100 meter(In open environment)
7.Decoding Way: MCU Software decoding
8.Can store the number of remote control:50
9.Support remote control type: Fixed code, learning code
10.Channel: 1CH
11.Multiple working modes: (Jog/Non-Latched ,inter-lock/Latched ,self-lock /Self-Latched,Delay off)
12.Wiring Method:Fixed wiring terminal
13.Working Voltage: DC12V
14.Output Current: 10A
15.Rated load:10A 250VAC / 10A 125VAC
10A 30VDC / 10A 28VDC
16.Output:Normally open,Common,Normally closed
17.Dimension:3.5cm*3cm*1.6cm
Working/output way:
1.Jog: Press the learning button then release, set the mode from the system automatically working mode to action mode, wait for a while, when the board LED off, said it is into the learning state, press the remote control, the system received the signal. The LED flashes 5 times and goes off again. After 3S delay, LED light marked learning success, the system automatically withdraw from the learning state.
2.Self-locking: Press the learning button, then release, press 2 times, the system automatically set to self-locking mode, wait for a while, LED off, it is into the learning state, press the remote control, LED flash 5 times Off. 3S after the delay, LED light learning success.
3.Interlock: press the learning button, then release, press 3 times in succession, the system is set to interlock mode.
4.Delay: Press remote control relay pull-in,release the remote control and begin timekeeping,after 5s,10s,15s will automatically close the relay
Description:
1. press the learning code .the indicator flash ,loosen your finger ,press any button of the remote control
the indicator flash 2 times and off .it mean you learn it successfully .
2. it can learn more than 12 PCS 2262 or 1527 chip with the different code wireless 433MHz remote control
3. remove/clean :press the learning button about 8 seconds , the indicator turn on to off, it means the information that you keep have been removed successfully .
Package included:
10 x 12V 1CH 433MHz Wireless Relay Switch Receiver


