Free Delivery  ·  COD Available  ·  15-Day Returns
Pricio
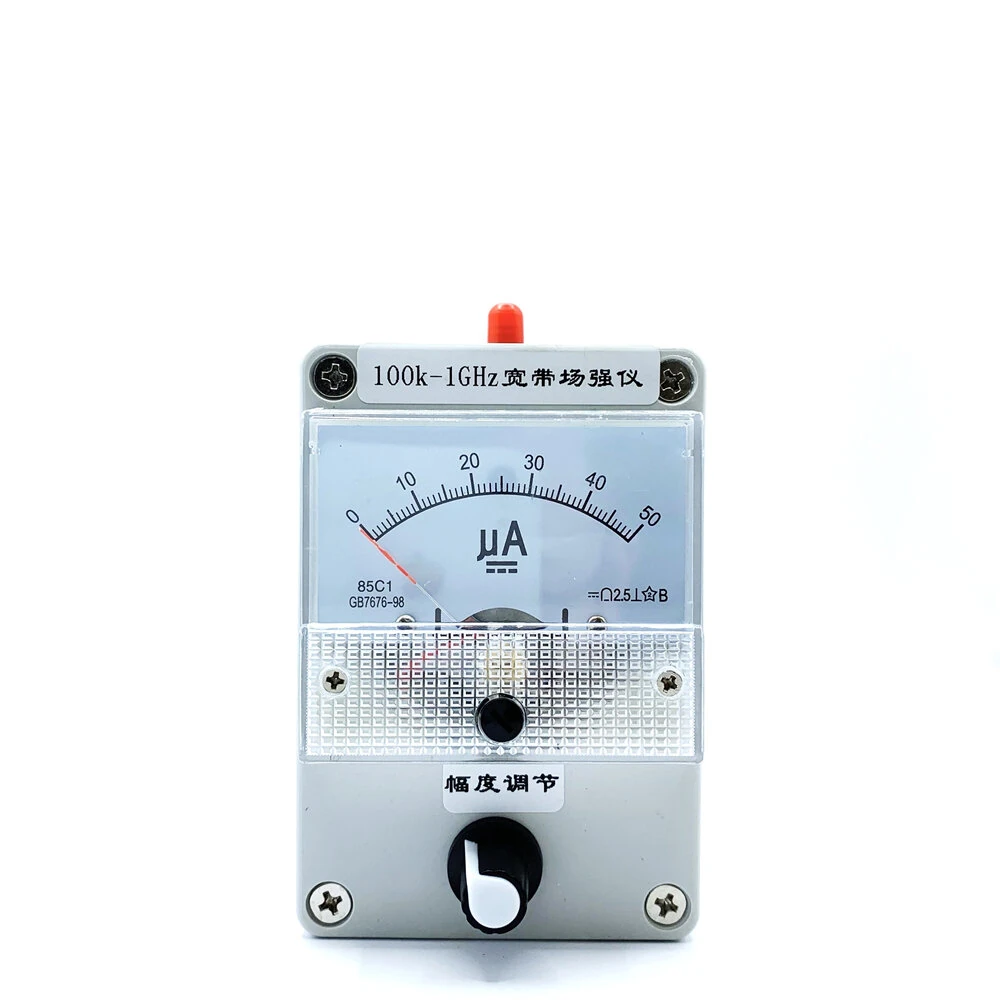
100KHz-1000MHz/1GHz Field Strength Indicator Meter RF Signal Level Tester + Antenna — image 1
Hover to zoom

1 / 5 · Click to enlarge

100KHz-1000MHz/1GHz Field Strength Indicator Meter RF Signal Level Tester + Antenna

5.03 ratings
519+ bought in past month
AI Summary
Test & Measuring Module for everyday users

The 100KHz-1000MHz/1GHz Field Strength Indicator Meter RF Signal Level Tester + Antenna is a mid-range test & measuring module designed for everyday users.

₹2,391-36%
MRP:₹3,759Save ₹1,368
Free Shipping💵 COD Available

Available Offers

Free Delivery on this order. No minimum order value.

15-Day Easy Returns — hassle-free return & full refund.

Secure Payment — 100% safe checkout with UPI, Cards & Net Banking.

36% Off — you save ₹1,368 on this product!

Color: White

White
Total: ₹2,391
Buying tip: A well-rounded choice at a fair price. Recommended for most buyers.
Estimated delivery: 24 Aug7 Sept
Free Shipping
Pan India delivery
15-Day Returns
Hassle-free policy
Secure Payment
Razorpay protected
Quality Assured
Vetted products only

Available Offers

💳

5% Cashback

Pay with UPI & get 5% cashback (up to ₹50) via Razorpay

🏦

No-Cost EMI

Available on select bank cards at checkout. 0% interest for 3 months.

📦

Free Shipping

Free delivery on all orders. No minimum order value.

💵

Cash on Delivery

COD available on orders up to ₹5,000 across India.

Ideal For

Electronics projectsArduino / Raspberry Pi buildsPrototyping
Share:
SKU: bg-2042426Category: Test & Measuring Module

About This Product

The 100KHz-1000MHz/1GHz Field Strength Indicator Meter RF Signal Level Tester + Antenna is a mid-range test & measuring module designed for everyday users. It delivers reliable performance at an accessible price.

Why Buy from Pricio?

Pricio sources this product directly, cutting out multiple middlemen. Every order includes free shipping, a 15-day return policy, and secure payment via Razorpay.

Feature:
1. Simple and efficient appearance, beautiful and generous
2. Wide frequency band, high sensitivity, 100KHz-1000MHz (the original antenna is 400-470Mz, test signals of different frequencies, please use antennas of different frequencies to have better results and sensitivity)
3. Adjustable pointer amplitude (to protect the watch head)
4. Built-in automatic damping function, that is, buffer function, to prevent the watch hand from swinging too fast to cause damage
5. Small size, easy to carry
6. Test sensitivity: (1) 0.1W transmitter from 0.1-1m (2) 2W/5W transmitter, 1-3 m range (3) 10W transmitter from 2-5 m range (4) 50W about 3-10m range
With HP8921A radio comprehensive tester test sensitivity of -20dbm just start the table, -2dbm can be full table (different frequency, sensitivity will be different)

Instructions for use:
Before use, please rotate the "amplitude adjustment" to the leftmost end, the length of the antenna should be determined according to the frequency of the test, as far as possible 1/4 wave is better, the handheld walkie-talkie is about one meter away from the field intensity meter, do not be too close! Lest the signal is too strong to burn the field intensity meter! Then press the walkie-talkie PTT button to make the walkie-talkie enter the transmitting state, at this time the pointer of the field intensity meter should indicate the signal, the stronger the signal, the greater the indication!
Amplitude adjustment: If the pointer of the field intensity meter indicates that it exceeds the maximum range, the "amplitude adjustment" can be adjusted to allow the pointer to indicate the appropriate position.

Antenna test the maximum gain point method:
1. In order to easily and quickly change the frequency, a walkie-talkie with a keyboard should be used to manually set the frequency.
2. Link the walkie-talkie and antenna feeder, place the field intensity meter near the antenna (distance depends on the environment), and try to place it in the vertical radiation Angle of the antenna, and the antenna planning method is best the same.
3. Set the radio frequency, press the transmit key, observe the reading of the watch head, and register the reading of the watch head at this frequency. Then set the intercom to other frequency points, let the intercom enter the transmitting state again, and observe the reading of the watch head.... Then compare the readings of each frequency point! You can know the best frequency point/segment of the antenna under test!
Note: This passive field intensity meter is used to test the intercom, not to test the remote control!!!

Package Included:
1 x 1ield Strength Indicator Meter RF Signal Level Meter
1 x Antenna


Product Safety Information

Setup Guide

1
Identify the pins
Locate VCC (power), GND (ground), and data pins (SDA/SCL for I2C, MOSI/MISO for SPI, or TX/RX for UART). Refer to the pinout diagram on the product page.
2
Wire to your microcontroller
Connect VCC to 3.3V or 5V (check the module spec), GND to GND, and data pins to the appropriate GPIO pins on your Arduino or Raspberry Pi.
3
Install libraries
In Arduino IDE, go to Sketch → Include Library → Manage Libraries and search for the sensor library. Install the recommended version.
4
Upload example sketch
Open File → Examples → [library name] → Basic Example. Upload to your board and open Serial Monitor to view output.
5
Calibrate if needed
Some sensors (temperature, humidity, distance) may need a short warm-up period or calibration. Run the calibration sketch if provided.